Replacing old windows can improve comfort, reduce drafts, and support lower household energy use. The U.S. Department of Energy’s Energy Saver guidance reports that windows can account for roughly 25% to 30% of residential heating and cooling energy use. That figure explains the interest in “replace windows in house” projects. It does not guarantee equal savings in every property.
Window replacement is not simply a matter of choosing attractive glass. Frame material, U-factor, solar heat gain coefficient, air leakage, installation quality, and local climate all matter. ENERGY STAR guidance recommends comparing certified products and checking performance labels from the National Fenestration Rating Council. A poorly installed high-performance window may still leak beside the frame.
Building scientist Dr. Joseph Lstiburek has described windows as “holes in walls.” The phrase sounds blunt. It highlights a practical truth: every opening needs careful flashing, drainage, insulation, and sealing. A replacement project should begin with inspection, not a sales pitch. Check condensation, damaged sills, loose frames, and visible gaps around the casing. Some windows only need repair.
This guide examines seven practical ways to replace windows in house projects, from full-frame replacement to insert units and carefully planned retrofits. It also considers cost, disruption, ventilation, and long-term performance. The honest answer is sometimes less exciting: replacement may not be the best first step. When the existing frame is sound, targeted repairs can deliver better value.
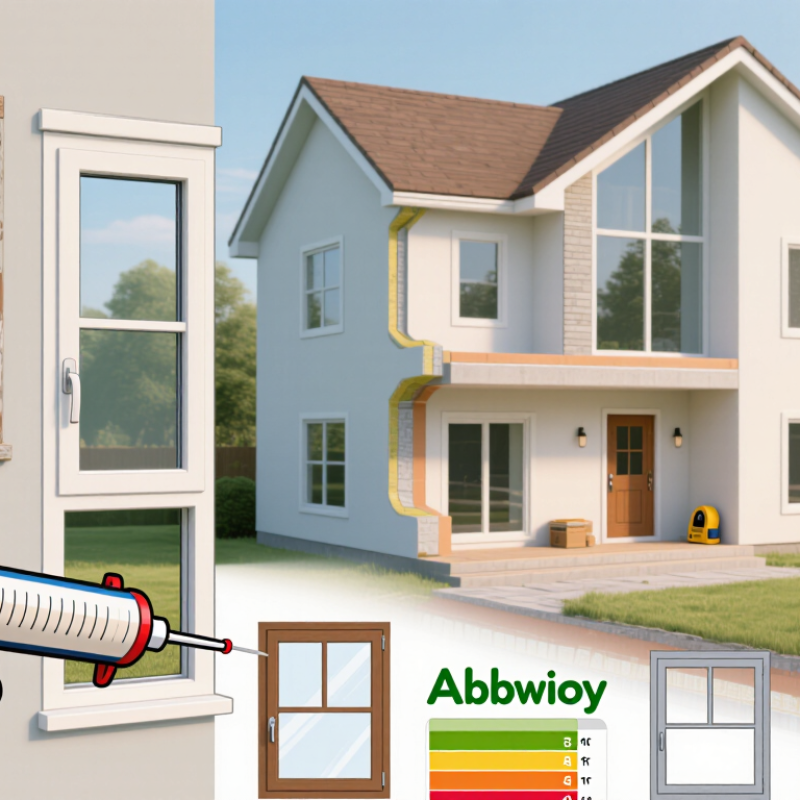
Before choosing among seven window replacement approaches, assess the windows you already have. In my renovation experience, visible damage is only part of the story. Check for soft wood, cracked glass, loose frames, peeling paint, and water stains below the sill. Press a screwdriver gently into wooden areas. Softness may indicate hidden rot.
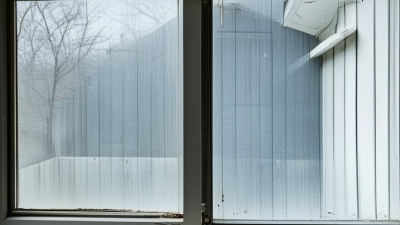
Test how each window works. Does it open smoothly, lock securely, and close tightly? On a windy day, hold a thin tissue near the frame. Movement suggests air leakage. Look for condensation between glass panes, which can signal a failed seal. Also inspect nearby walls for mold, damp insulation, or bubbling paint. These details often reveal problems that a quick visual check misses.
Your needs should guide the replacement goal. A bedroom may need quieter glass, while a sunny living room may need stronger heat control. Consider ventilation, emergency escape requirements, privacy, maintenance, and the home’s architectural style. Measure the opening carefully, but verify measurements at several points. Older houses are rarely perfectly square.
I once assumed a draft required full replacement. It did not. A worn seal and poor adjustment caused the problem. That mistake taught me to compare repair costs with long-term performance. A qualified window professional can confirm structural damage, moisture sources, and installation limits before work begins. Do not replace good windows merely because they look dated. Yet delaying serious water damage can make the project far more expensive.
This illustrative priority scale ranks common replacement considerations from 1 to 5. Visible frame damage, failed insulating seals, drafts, difficult operation, and persistent comfort problems are practical signs that a professional window assessment may be worthwhile. The scores are an editable assessment example, not market statistics.
Full-frame replacement removes the window, frame, and exterior trim. It offers the strongest inspection of hidden rot, insulation gaps, and water damage. It also costs more and can disturb interior finishes.
Insert, or pocket, replacement fits a new window inside the existing frame. It preserves trim and usually reduces installation time. Sash replacement changes only the moving panels, making it useful when the frame remains square and dry. Retrofit replacement adds a new unit over the existing opening, but it may reduce visible glass area. Check the measurements carefully.
Glass-only replacement keeps the frame and replaces damaged or inefficient glazing. This option works well when seals fail, but it cannot correct a warped frame. Interior storm panels add insulation without exterior construction. They suit historic homes and mild climates, although cleaning and condensation control require attention.
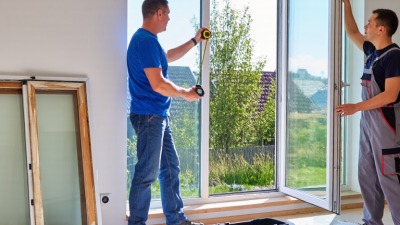
Custom-shaped replacement handles arches, circles, and unusual openings. It provides a precise fit but usually needs longer fabrication and higher labor costs. On site, installers should test each opening before ordering. A tape measure can miss a sloping sill or a wall that has shifted. I have seen attractive replacement plans fail because drainage details were ignored. That mistake is expensive. Check flashing, sill support, air sealing, and local permit requirements. Energy performance also depends on orientation, shading, and installation quality, not glass labels alone.
Choosing new windows involves more than matching the exterior color. Start with the frame. Vinyl, wood, fiberglass, and aluminum each handle moisture, movement, and maintenance differently. In damp areas, careful sealing matters more than a fashionable finish. A narrow frame can increase glass area, but it may reduce stiffness if poorly designed.
Glass deserves close attention. Double glazing suits many homes, while triple glazing helps in colder climates and noisy streets. Low-emissivity coatings reduce heat transfer without making rooms feel dark. A gas-filled space between panes can improve insulation. Check the U-factor for winter performance and solar heat gain control for summer comfort. Low numbers are not always better for every room.
Match the window style to daily use. Casement windows often provide strong ventilation, while sliding units save space. Awning styles can allow airflow during light rain. Consider each wall’s direction, shade, and furniture placement. Professional installation is equally important. The crew should inspect the opening, repair hidden rot, and install flashing before setting the frame. Small gaps can create drafts, mold, and disappointing energy savings. I once focused too much on glass ratings and overlooked exterior shading. That was a costly lesson. Energy performance depends on the whole opening, not one impressive specification. Ask for tested air leakage data, written warranty terms, and a clear installation plan.
Replacing windows works best as a measured project, not a rushed purchase. Start by checking frame damage, drafts, condensation, and operation. Measure each opening at least twice, including width, height, and depth. Record the smallest measurement. Old houses rarely match. A simple sketch helps prevent ordering an expensive mistake. The U.S. Department of Energy reports that windows can influence 25% to 30% of residential heating and cooling energy use, so orientation and glass performance deserve attention.
Build three cost estimates: products, labor, and repairs. Include trim, disposal, insulation, interior finishing, and possible masonry work. A 2024 national cost-value remodeling survey reported that replacement windows recover roughly two-thirds of their project cost at resale, though local prices vary sharply.
Request itemized quotes, not vague package totals. Check permit requirements before ordering. Rules differ by city, historic district, and structural changes. A local building office can confirm the correct process. This step feels slow. It prevents rework.
Choose suitable frames and glazing for the climate, noise level, and sun exposure. Confirm safety glass near doors, low-maintenance seals, and manufacturer-published performance data. During installation, the crew should remove only necessary materials, inspect the rough opening, level the unit, and fasten it correctly. Proper flashing and air sealing matter more than decorative trim. The American Architectural Manufacturers Association emphasizes installation practices that protect water resistance and operating performance. Photograph hidden flashing before closing the wall. I would also keep a small contingency fund, because one rotten sill can change the entire plan.
A finished window replacement needs more than a clean frame and fresh glass. Inspect each unit in daylight. Check that the sash opens smoothly, locks without force, and stays in position. Run a thin tissue around the frame on a windy day. Movement suggests unwanted air leakage. The U.S. Department of Energy reports that windows can account for 25–30% of residential heating and cooling energy use, so small installation gaps matter.
Look closely at the exterior sealant. It should be continuous, flexible, and firmly bonded, without gaps at the corners. Confirm that drainage paths remain open below the frame. Pour a small cup of water into the sill track. Water should exit outside, not collect indoors. Industry installation guidance from the American Architectural Manufacturers Association stresses proper flashing, shimming, and drainage control. A perfect-looking bead can still hide poor preparation.
Maintenance is simple, but easy to neglect. Clean tracks twice yearly, remove grit, and lubricate moving hardware with the approved product. Inspect seals after severe weather. Condensation between panes usually indicates failed insulating glass, while light surface condensation may reflect indoor humidity. The National Fenestration Rating Council advises using performance labels when comparing U-factor and solar heat gain values. I still check for tiny scratches and uneven gaps after contractors leave; appearance can improve, but missed defects become harder to correct later.